Tech Tips & Tricks: Changing Group Head Gasket
Jacob
Jul 07, 2018
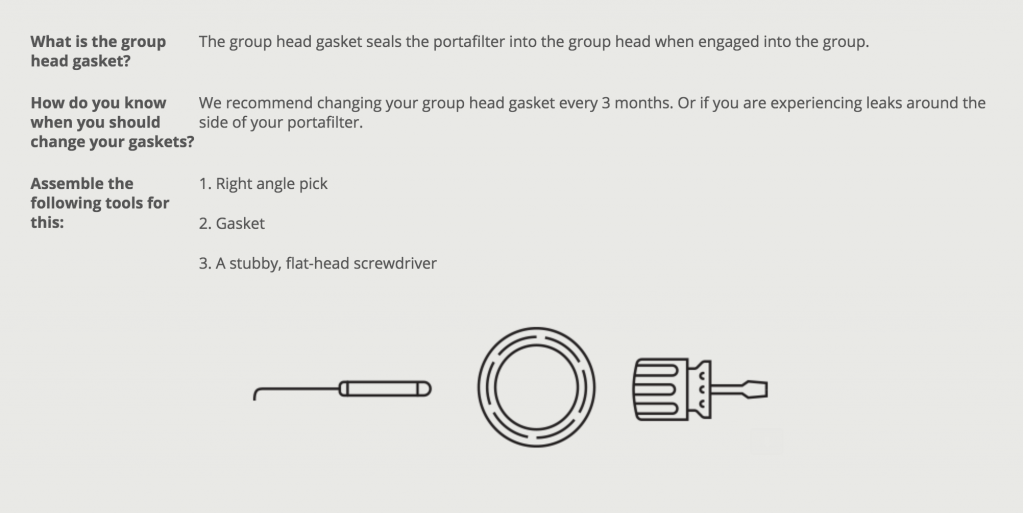
If it’s been several months since you last replaced your group head gasket – or if you’ve noticed leaks, then it’s time to swap that sucker out for a new one. And it’s easy, just follow these simple steps!
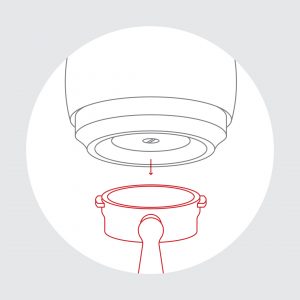 1. Remove portafilter
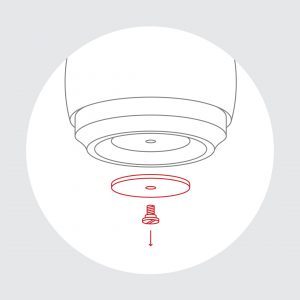
2. Remove group diffuser screw and screen
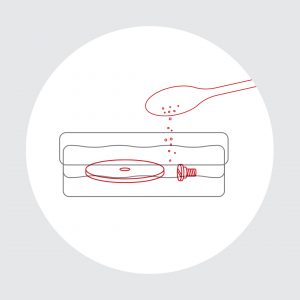
3. Soak diffuser screen and screw in hot water with a teaspoon of espresso cleaner (we use Slayer Espresso Cleaner). Use hot water from the machine.
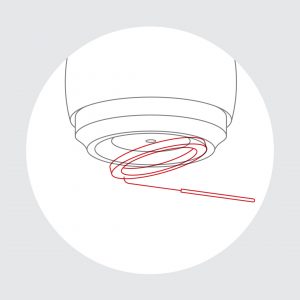
4. With the pick, remove the old gasket. If the gasket is brittle it may come out in pieces. Run the pick around the groove for the gasket to make sure you have all pieces removed.
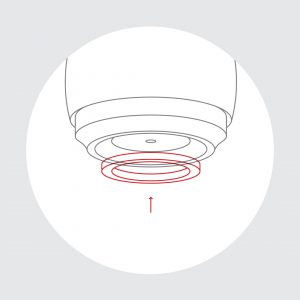
5. Insert new gasket, push the gasket into the groove around the inside of the group head.
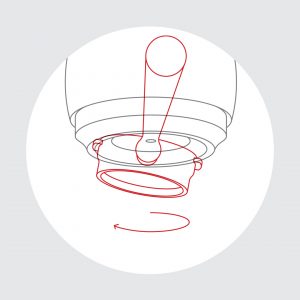
6. Insert one ear of the portafilter and clock as far as it will turn. This will help seat the gasket. Repeat with other ear.
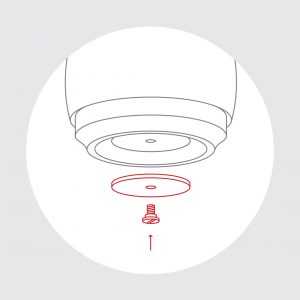
7. Remove the group screw and screen from hot water. Rinse them with water.
8. Insert group screen and screw. Tighten screw fingertip tight into group head, making sure not to over-tighten.
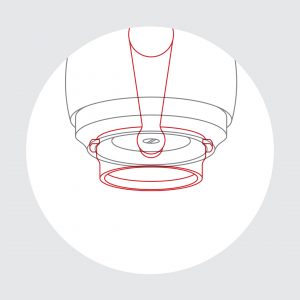
9.Insert your portafilter, it should now clock right around to 6pm on the group head. Just like a new pair of shoes it will feel a little snug at first and just right by the end of the shift.

10. Do a quick happy dance. You are now a group head gasket changing rockstar. Congratulations!
SLAYER Corporate Headquarters
PHONE: +1 206.284.7171
707 Lind Ave SW, Renton, WA 98057